
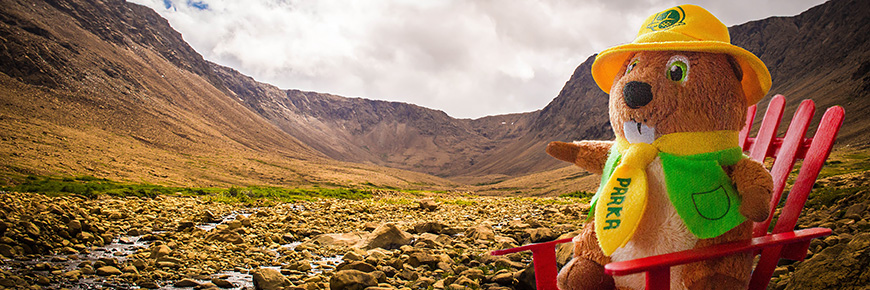
Parka in her mini red chair enjoying the Tablelands!
Making a Miniature Red Chair
By Shirley Alyward and Josh Thomas, Gros Morne National Park, NL
Have you ever seen a pair of red chairs while visiting your favourite Parks Canada place with your family? Did you have a chance to sit down and relax in one of them? The location of these chairs is not randomly chosen. Do you know why we place them where we do? It is to invite you and your family to sit, relax and enjoy the landscape and surrounding scenery. After all, it’s not every day we have the chance to visit national parks, national historic sites and national marine conservation areas. These places are there for you to discover and appreciate, and the best way you can do that is to set aside some time to take a break!
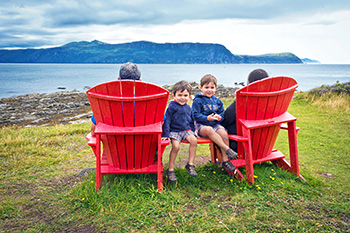
The idea of red chairs started in Gros Morne National Park, a UNESCO World Heritage Site. Gros Morne is a unique and magical place to visit. It offers different landscapes like fjords, mountains, beaches, and the famous Tablelands. We wanted to find a way to show people where to stop and take in all of this beautiful scenery, so the idea of red chairs was born!
If you and your family do not have a chance to visit a Parks Canada place in a near future, we would like to inspire you to create your very own miniature red chair, perfect for dolls, action figures or the Parka carabineer plushy so that they too can enjoy the view! We recommend that you make the red chair together as a family. An adult will need to cut the sticks and use a glue gun, and children can paint the chair once it is built.
Ready to try it? Let's GO!
Download this activity (PDF, 516 KB)
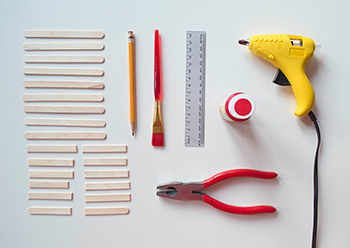
What you will need
- 21 popsicle sticks
Note: It's a good idea to have a few extra sticks on hand. - Wire cutters
- Protective glasses
- Red paint
- Small paintbrush
- Glue gun and additional glue sticks
- Ruler
- Pencil
Instructions
Wear protective glasses when using wire cutters. Cut the popsicle sticks as follows.
Note: The ends of the sticks can fly off quickly. Anyone watching should also take care to wear protective glasses.
- 9 popsicle sticks
- 1 x 7.5 cm piece
- 1 x 7 cm piece
- 7 x 6.5 cm piece
- 2 x 6 cm piece
- 1 x 5.5 cm piece
Following the instructions, use a hot glue gun to assemble the sticks. Children can help by passing you the sticks.
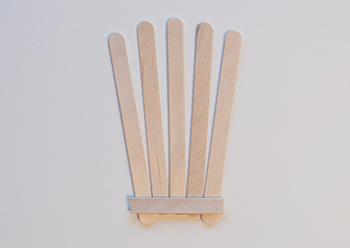
Backrest of the chair
- Place 5 uncut sticks on a flat surface, leaving a gap of about 1/2 cm between the tops of each stick. Glue the 5.5 cm stick horizontally to the bottom of the backrest. When dry, turn it over to complete the back.
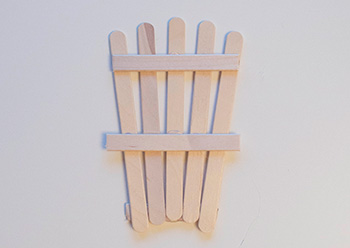
- Glue the 7 cm stick horizontally about 1.5 cm from the top, and glue the 7.5 cm stick about 6 cm from the top. Set aside to dry.
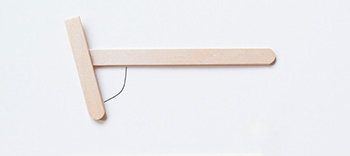
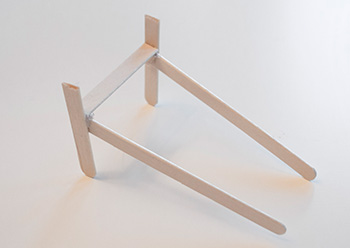
Legs and seat of the chair
- Place an uncut stick horizontally on a flat work surface. Find the center of the 6 cm piece and glue it to the left side of the uncut stick tilting it to create an angle of roughly 80 degrees.
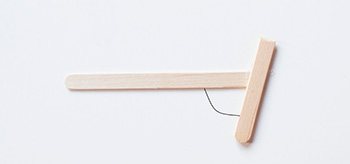
- Repeat step 3, however, this time place the 6 cm piece on the right end of the uncut stick. Ensure that your 80 degree angle is identical, so that your chair rests evenly.
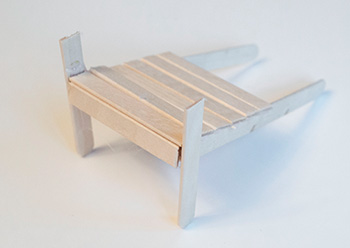
- Place the two legs side by side, making sure the legs (6 cm pieces) are facing outwards. Glue a 6.5 cm piece between the two pieces, resting it on the ledge of the uncut sticks.
- Starting at the front of the seat, glue five 6.5 cm pieces towards the back to form the seat. Glue the last 6.5 cm piece perpendicularly to the front of the seat.
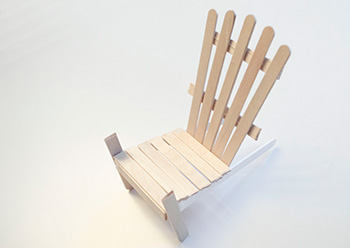
Final assembly of the chair
- Retrieve the backrest you have previously constructed. Insert the backrest into the seat ensuring the 5.5 cm piece at the base of the backrest is facing inward and resting underneath of the back of the seat. Adjust the backrest of the chair so that it sits perpendicular and straight to the seat.
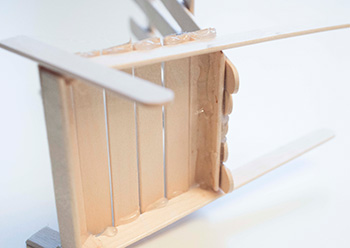
- On the underside of the chair, generously glue the backrest to the back of the seat to solidify the structure. Keep them firmly together until the glue dries.
- To finish the chair, glue the last two uncut sticks to the tops of the legs at the front of the chair, and at each end of the 7.5 cm piece found in the middle of the backrest.
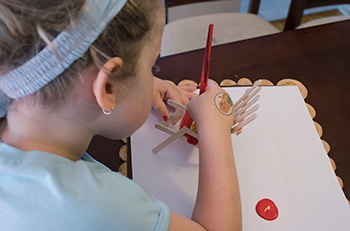
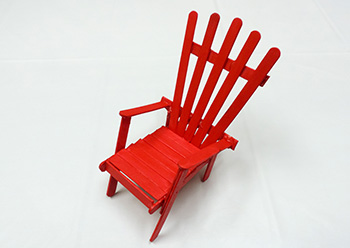
- And voilà! Now that the chair is assembled, your children can have fun painting the chair red. Once the paint has dried, they can place their favourite toy or figurine in the chair to admire the beautiful view!
Note: Results may vary, so feel free to adapt the chair design according to your imagination!
Red chairs are found in Parks Canada places across the country. Don’t hesitate to share your experience on social networks with the hashtags #ShareTheChair and #TimeToConnect.
- Date modified :